Getting Started
-
Create your account
Sign up with your email and set your role (Patient, Clinician, or Family). Verify your email to finish onboarding and unlock your dashboard.
-
RhythmIQ.Health integrates with most wearable devices. When you log in to the mobile app, you’ll be prompted to grant permissions for the metrics you want AI to track.
- Open the app on your phone and sign in.
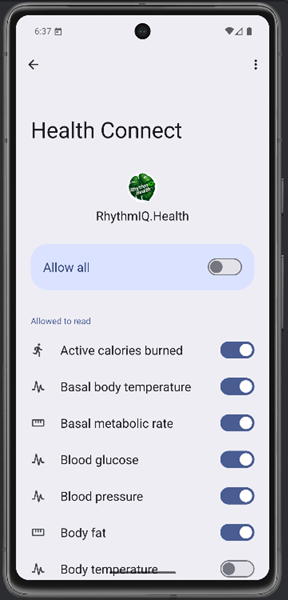
- Grant Health and Notifications permissions if prompted.
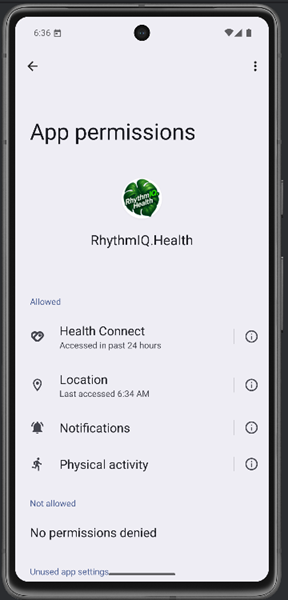
- On the Profile Overview screen, tap “Phone Metrics”.
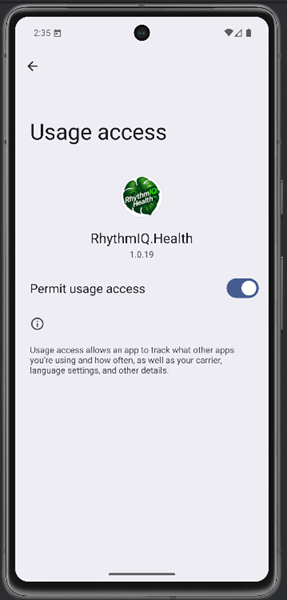
- Grant phone permissions if prompted.

-
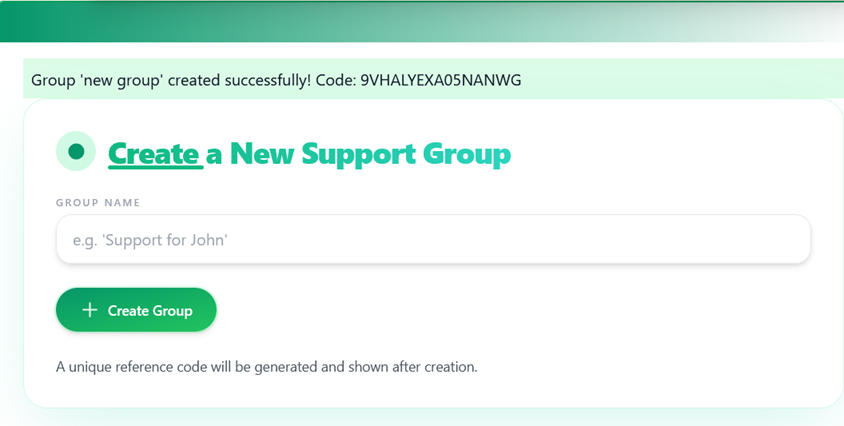
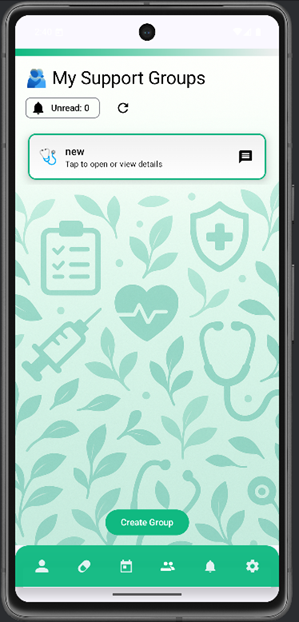
To invite caregivers or family, open the “Create Group” panel.
- Enter a Group Name.
- Click “Create Group” — a reference code will be generated. Share this code with members you’d like to join.
-
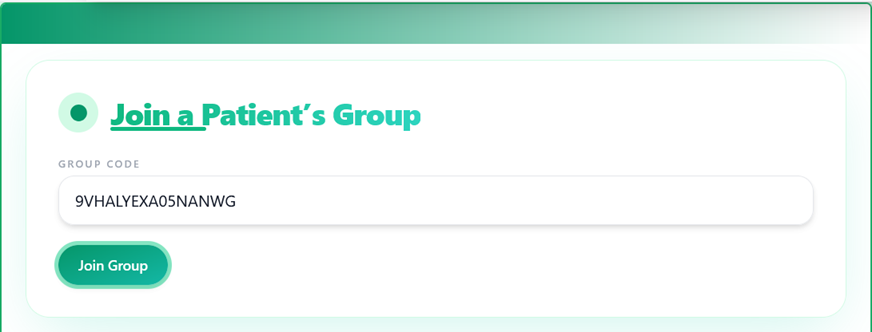
Once you’ve received a Reference Code from a Patient, you can join their group to receive shared data and updates.
- Open the “Join Group” panel.
- Enter the Group Code and click “Join Group”.
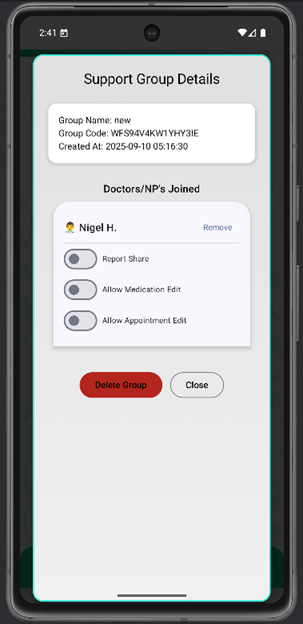
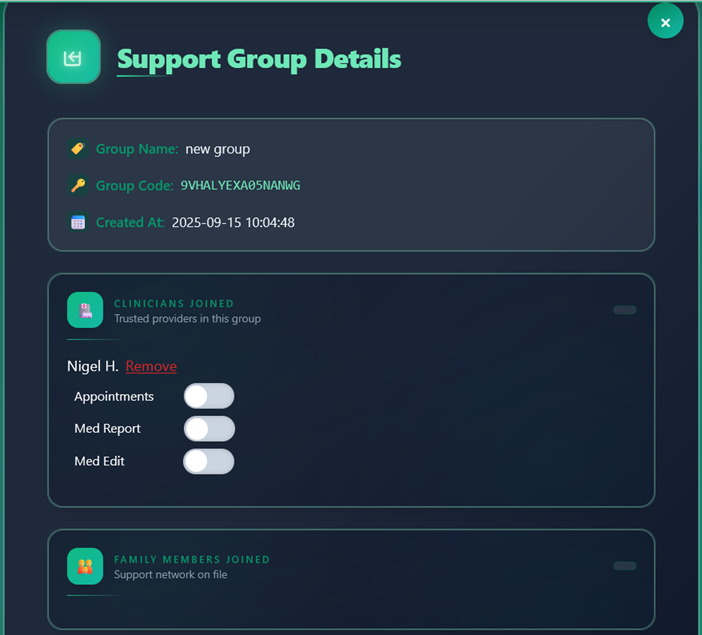
Patients can delete a group or remove members at any time.
- Open the “My Groups” panel.
- Click “Show Details”.
- In the modal, remove a member individually or delete the group entirely.
Follow these steps to leave a patient group:
- Open the “My Groups” panel.
- Click “Leave Group” on the group card.
- A notification will be sent to the patient’s group inbox notifying them of your action.

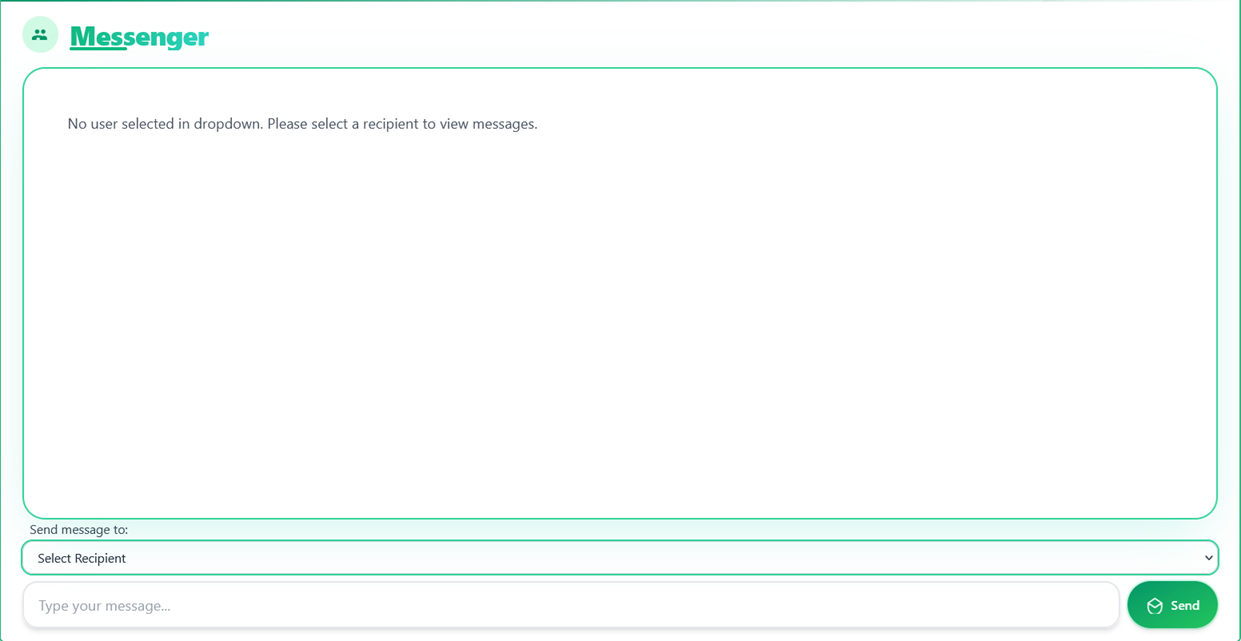
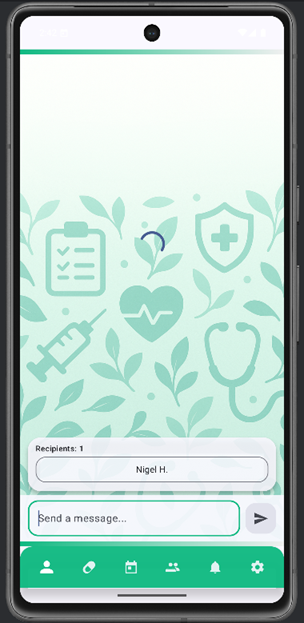
Send encrypted messages to family members and caregivers.
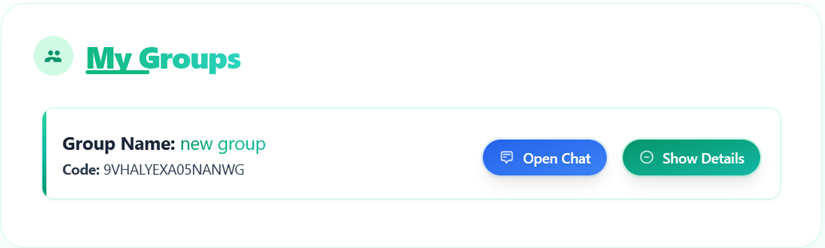
- Open the “My Groups” panel.
- Click “Open Chat” on the group card.
- In the Messenger panel, select a member and start chatting.
- Note: Patient accounts can message Clinician and Family accounts. Clinician and Family accounts can message Patient accounts.
Share your medication adherence reports, AI anomaly alerts, and optionally allow clinicians to modify your medication and appointment schedules.
- Open the “My Groups” panel.
- Click “Show Details”.
- In the modal, use the toggles next to each member to grant or revoke permissions.
- Note: Enabling Medication Reports sharing also shares adherence schedules and AI anomaly alerts with selected members.
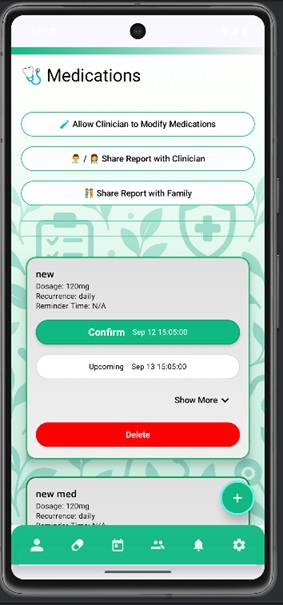
RhythmIQ.Health provides a flexible medication scheduler so you can set reminders and earn rewards for consistent adherence.
- Open the “Medications” tab.
- Enable reminders with “Toggle Medication Reminders”. You’ll receive notifications when a dose is due, delivered to your RhythmIQ.Health Inbox.
- You can grant clinician accounts permission to edit your schedule.
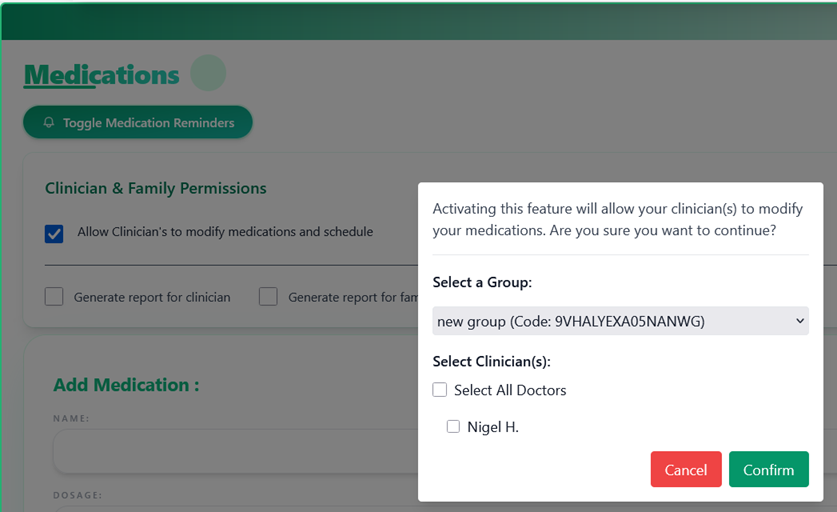
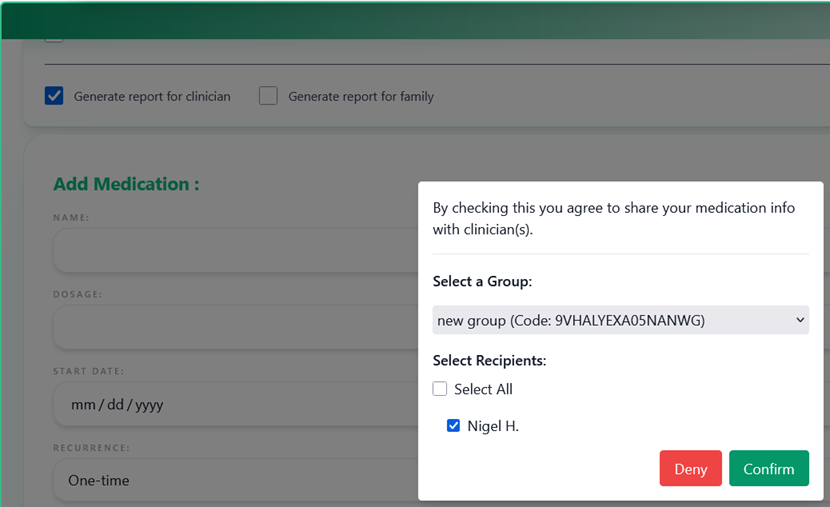
- “Generate report for clinician” and “Generate report for family” share your adherence reports and AI anomaly alerts with your group members.
- You can also toggle “Med Share” in the Group Details modal within the My Groups panel.
Customize your medication schedule and earn rewards.
- Enter the medication name and dosage.
- Select a start date. We recommend starting the day after your initial entry.

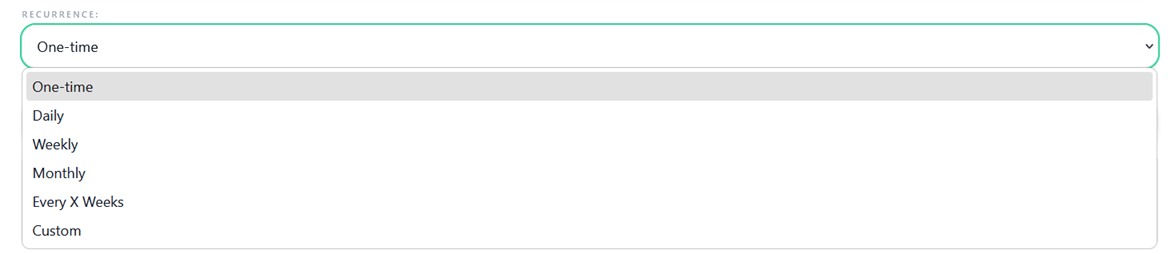
- Select the recurrence type to build a schedule that fits your routine.
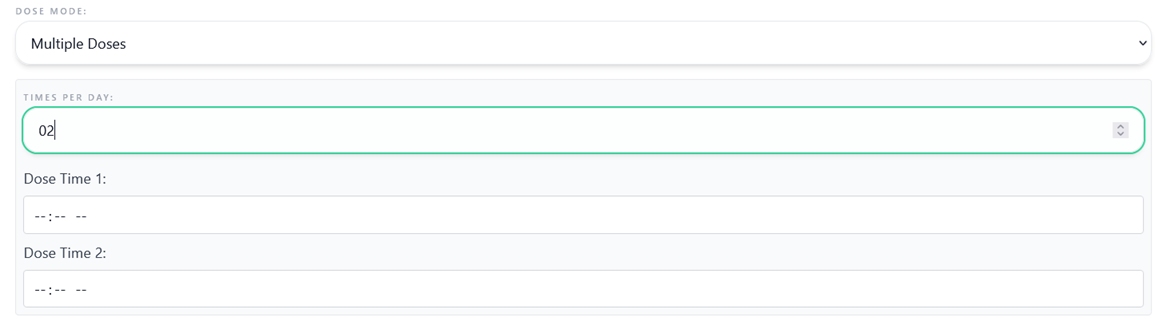
- Choose a Dose Mode: Single Dose (enter one time) or Multiple Doses (up to 10 dose times per day).
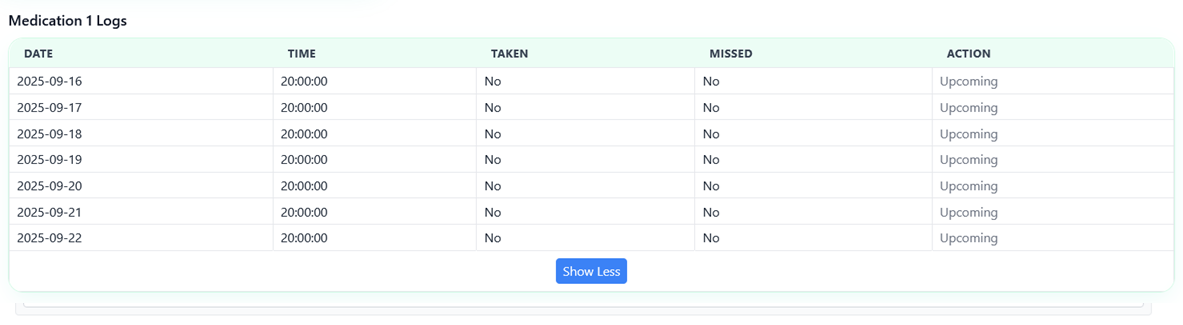
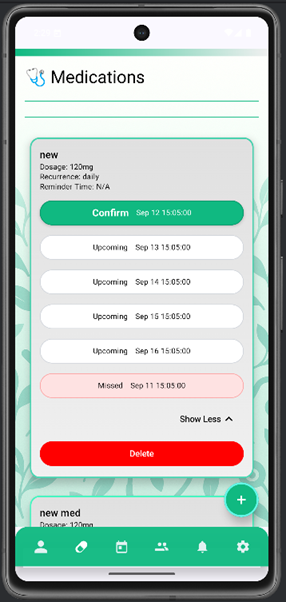
After you add a medication, RhythmIQ.Health creates log tables to help you track your schedule and confirmations.
- Confirm a dose by clicking “Confirm” under the ACTION column.
- Note: The Confirm button is available starting 2 hours before the scheduled time. If not confirmed, the dose is automatically marked MISSED 2 hours after the scheduled time.
Doctors and Nurse Practitioners can update a patient’s adherence schedule once the patient has granted access.
- After permission is granted, open the “Clinician Tools” tab to access the Clinician Tools Panel.
- Click “Manage Patient Meds”.

- A modal will open with prompts to tailor the patient’s schedule.
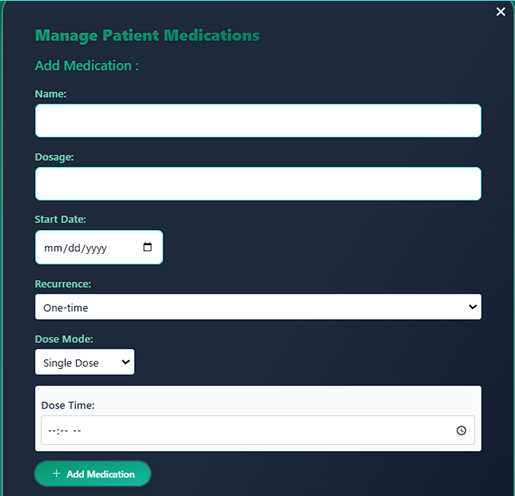
- Enter the medication name and dosage.
- Select a start date. We recommend the day after the initial entry.
- Choose a recurrence type to match the care plan.
- Pick a Dose Mode: Single Dose (one time) or Multiple Doses (up to 10 times). Provide times for each dose.
- Note: Dose times automatically convert to the patient’s local time.
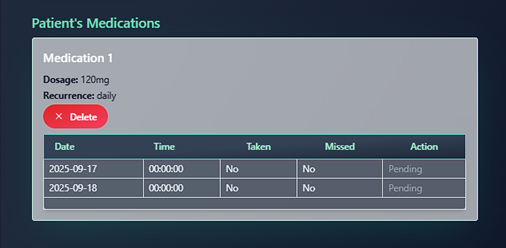
Clinicians can remove a medication schedule after the patient grants access permissions.
- Open the “Clinician Tools” tab and click “Manage Patient Meds”.
- Scroll past the scheduling form. On the patient’s medication card, click “Delete”.
Open the “Appointments” tab to access the Appointments Panel and create a new appointment.
- Enter the Title, Date, Time, Location, and optional Notes.
- Appointment reminders are enabled automatically and delivered to your RhythmIQ.Health Inbox.

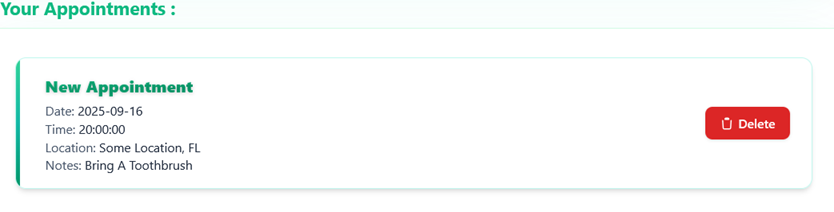
To delete an appointment, open the “Appointments” tab to view the Appointments Panel.
- Scroll past the scheduling form to find your Appointment Card.
- Click “Delete” on the relevant appointment.
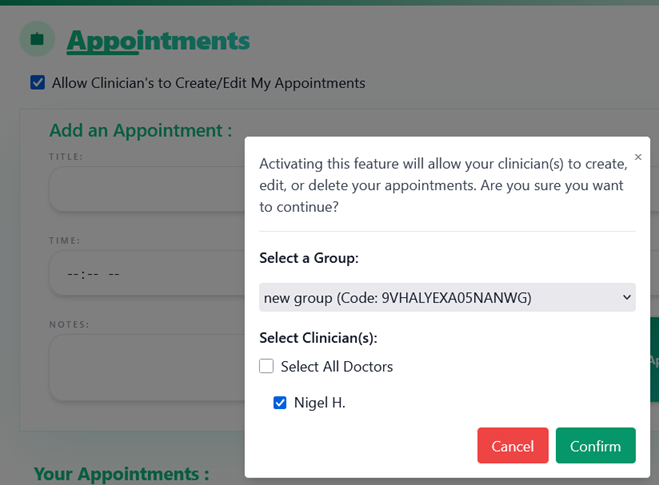
To grant a clinician permission to manage your appointments, open the “Appointments” tab.
- Check “Allow Clinicians to Create/Edit My Appointments”.
- Follow the dialog to grant permission to selected clinician accounts.
- Note: Clinicians can only view, add, or delete their own appointments. They cannot view existing patient-scheduled appointments.
Doctors and Nurse Practitioners can schedule or edit appointments once the patient grants access permissions.
- Open the “Clinician Tools” tab after access is granted.
- Click “Manage Patient Appointments”.
- A modal will appear with prompts for scheduling.
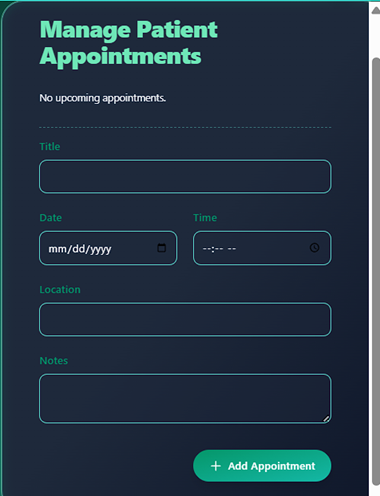
- Provide the Title, Date, Time, Location, and optional Notes.
- Appointment reminders are automatically enabled and delivered to the patient’s RhythmIQ.Health Inbox.
Use the Mood Tracker to log how you’re feeling and earn tokens. Open the “Mood Tracker” tab to get started.
- Answer the prompts to track your mood daily and earn rewards.
- Tap or click each mood to highlight what matches how you felt today.
To view saved entries, scroll below the Mood Tracker form and click an item in the “Previous Mood Entries” list. A modal will open with full details.
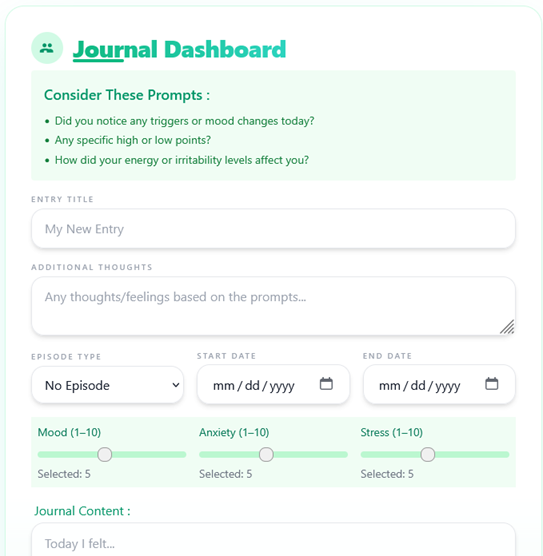
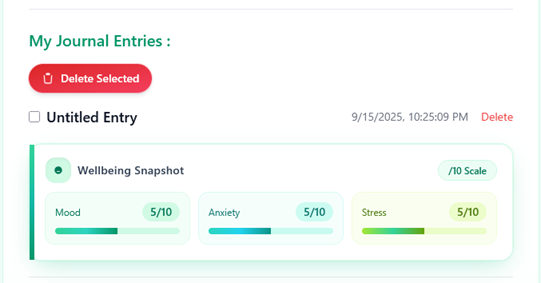
Use My Journal to write daily reflections and earn tokens. Open the “My Journal” tab to begin.
- Optionally answer the prompts each day to build your journal and earn rewards.
To view saved journal entries, scroll below the Journal form and click the saved journal title. A modal will appear with your entry details.

Earn IQ Coins by engaging with the app features below.
- Medication adherence scheduling: Confirm a dose as taken to receive +100 IQ Coins.
- Note: Missing a scheduled dose results in −25 IQ Coins.
- Mood Tracker: log your mood to earn up to +25 IQ Coins daily.
- My Journal: add an entry to earn up to +25 IQ Coins daily.
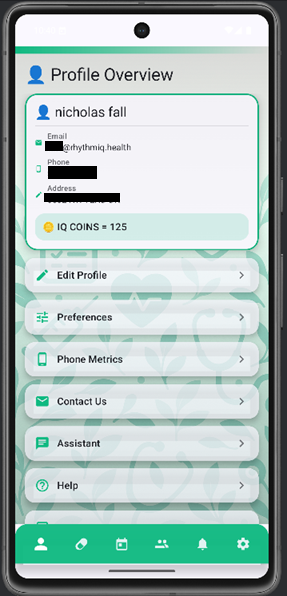
- To view your total, navigate to the “Profile Overview” tab to open the Profile Overview Panel.
- Your accumulated IQ Coins appear on the Profile Card.

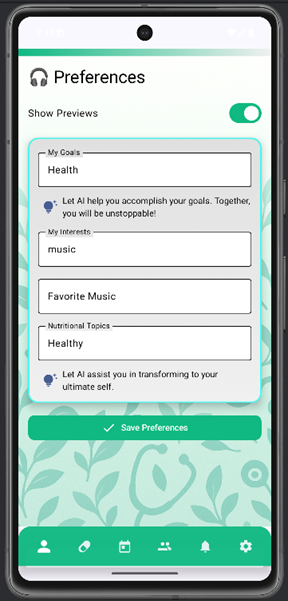
Set your preferences so the AI can tailor content to your likes and interests.
- Click the “Preferences” tab.
- Enter your likes and interests.
- The AI will automatically personalize your feed. Your recommendations will appear on the Profile Overview Panel.
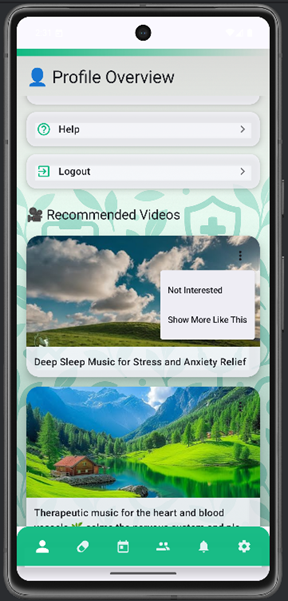
Train your recommendations by telling the system what you like—or don’t.
- Open the “Profile Overview” or “Account” tab.
- Scroll to Recommended Videos.
- Click the dotted icon to open the menu.
- Select “Not Interested” or “Show More Like This”.
- The feed will update automatically based on your choices.
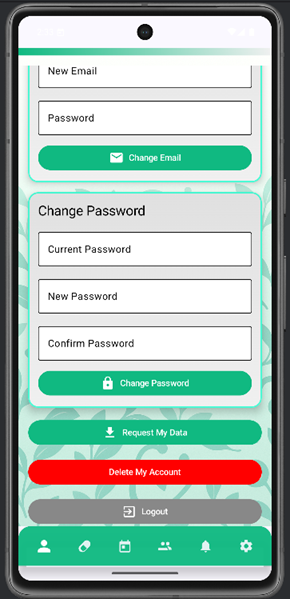
Access these options from the “Edit Profile” tab.
- Note Data exports can be requested up to 3 times per month.
- Note Only patient accounts can request data exports.
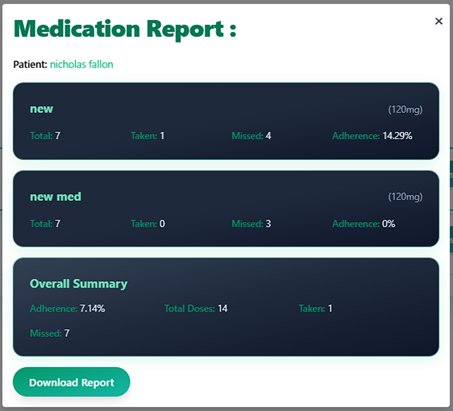
Clinicians can review a patient’s medication logs to assess adherence. The patient must first grant the clinician access permissions.
- After permissions are granted, navigate to the “Clinician Tools” tab to open the Clinician Tools Panel.
- Click “View Med Report” to open the adherence report.
- From here, clinicians can (if enabled) adjust the patient’s appointment schedule.
Log quick daily check‑ins to enrich insights and trend lines.
At a glance
The dashboard fetches patient insights and builds interactive charts + a sortable table to help you spot rising risk, anomalies vs. baseline, and multi-day high-risk streaks.
Note: In AI-only mode, raw hourly data is unavailable and the heatmap is hidden.
Key signals
- Risk score — primary clinical signal; higher = worse.
- Anomaly z-score — “how different” today is from baseline.
- Risk label — low / moderate / high.
- Streaks — 3+ consecutive high days get a red vertical marker on charts.
Filters & controls
- Patient — All Patients or a single patient (enables weekly heatmap if available).
- Date range — type a range or use quick presets (7 / 30 / 90 days).
- Chart toggle — switch between Risk Trend and Z-Score Trend.
- Sortable columns — click headers; sort preference is remembered.
Visuals you’ll see
- Multi-metric overlay — risk (solid) + z-score (dashed) across selected patients.
- Trend charts — focus view for risk or z-score; red lines mark 3-day high streaks.
- Weekly mood heatmap — day × hour intensity (if not AI-only).
- Event timeline — 🔥 high-risk · ⚠️ major event · 📝 journal/keywords.
Daily table
Each row shows Date, Patient, Risk (with ↑ → ↓ vs. prior day), Z-score, Label, and an expandable “Reason” (explainable text). Optional workflow tags render as icons: 🛌 monitor-sleep · 💊 adjust-med · ⚠️ stress.
Practical use
- Triage — filter last 7 days, sort by Risk, open “Reason.”
- Early warning — rising z-score ahead of risk suggests change from baseline.
- Pattern check — single-patient heatmap for time-of-day/day-of-week trends.
- Sustained risk — act on red streak markers (≥3 high days).
Clinical note
This is decision support, not diagnosis. Use alongside clinical judgment and patient context.
Billing & Subscriptions
How pricing works
- Website accounts are free to register.
- Mobile app via Google Play: $0.99 for the first month, then $2.99/month.
- In-app subscription unlocks mobile features like reminders, notifications, and on-device insights.
FAQ
Contact & Support
- Email: info@rhythmiq.health